How to Make an OS X Yosemite Boot Installer USB Drive
Now that OS X Yosemite is available, many users may wish to create a bootable installer drive from something like a USB flash thumb drive or another disk. This allows for several things, the ability to upgrade multiple Macs without having to re-download the installer, the ability to perform a clean install, and also the convenience of having a separate bootable reinstallation drive in the event you need it for serving a Mac.
Creating a Yosemite installation drive that is bootable is quite simple, but it’s a multiple step process. Before you begging, make sure you have the following basic requirements met:
Requirements
- A USB Flash Drive
that is 16GB or larger which you don’t mind formatting
- The “Install OS X Yosemite.app” launcher in the /Applications/ directory of the Mac (downloaded from the App Store, but not installed)
How to Create a Bootable OS X Yosemite Installer Disk in 2 Steps
For the purposes of this walkthrough, we’re going to use a 16GB USB flash thumb drive, but you’re free to use whatever you want, and you could even use an external hard drive if you really wanted to. The convenience of a portable flash drive is undeniable so it’s preferred if you’re going to be updating multiple Macs. Let’s get started:Step 1: Format the USB Drive to be Bootable
This is going to format the drive so that it will be a bootable installer, without doing this the drive may not be bootable. If you don’t want to erase the drive, find one you don’t mind formatting instead. When you format a fresh drive on a Mac it becomes labeled as “Untitled” so we’re going to assume that the boot destination drive is named Untitled as well. If for some reason you have another drive named Untitled, change the name or don’t use it.- Connect the USB drive to the Mac and launch Disk Utility, then select that USB drive from the left side drive list (be sure you select the USB drive you want to make the bootable installer from)
- Click on the “Erase” tab and format the drive as “Mac OS Extended (Journaled)”, then choose “Erase” and confirm
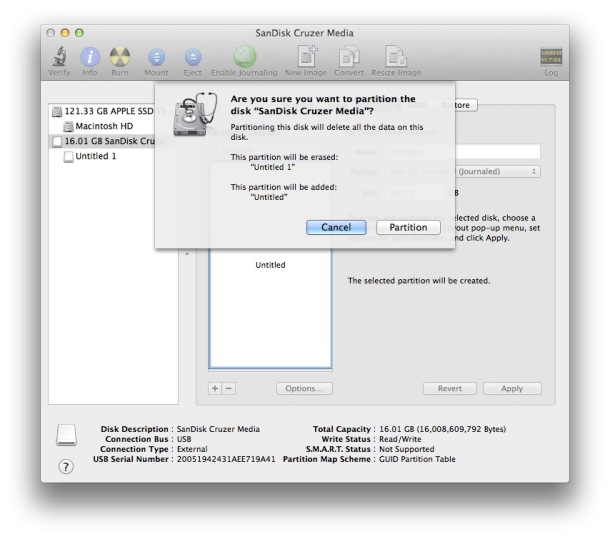
- Next go to the “Partition” tab and under ‘Partition Layout’ click on the pulldown menu, changing it from “Current” to “1 Partition”
- Change the name to “Untitled” from ‘Untitled 1′ then click on the “Options” button
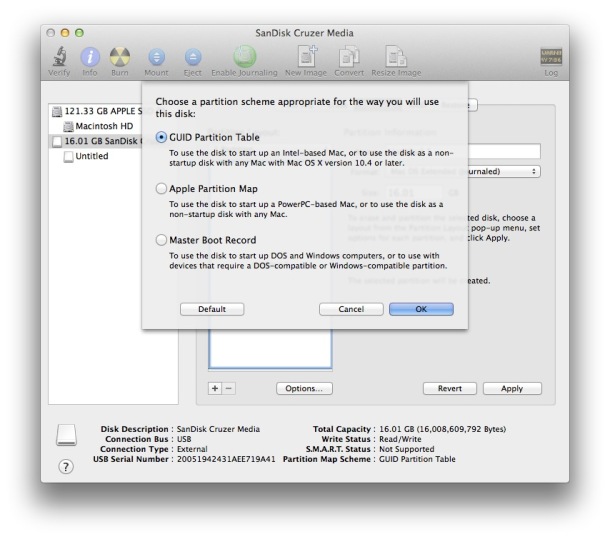
- Choose “GUID Partition Table” as the partition scheme and choose “OK”
- Click “Apply” and confirm the creation of the partition
- Quit out of Disk Utility when finished
Step 2: Making the OS X Yosemite Installer Drive
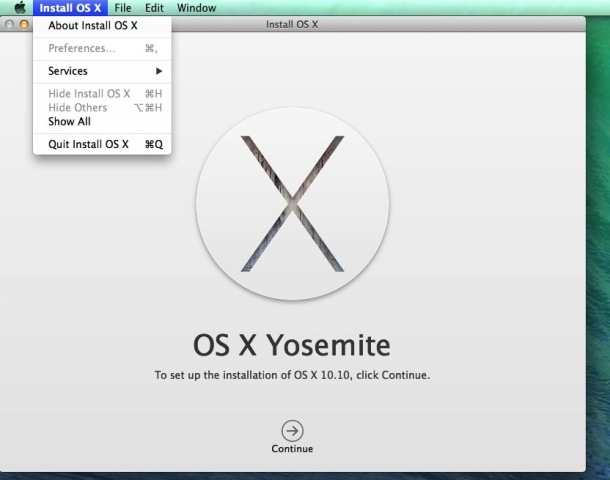
The next step will actually make the installer drive from the previously formatted USB disk. If you already have the OS X Yosemite installer application in the /Applications/ folder on the Mac, you can skip directly to step 3:- Download OS X Yosemite from the Mac App Store, it’s free (direct link) – DO NOT INSTALL IT YET
- When the download completes and the “Install OS X Yosemite” app launches, quit out of it immediately
- Launch Terminal app and enter the following command exactly, copy and paste works fine:
- Enter the administrator password when requested (this is required to use the sudo command – the password will not show up and it looks as if you’re not entering anything, that is normal behavior for the command line), then hit the RETURN key to start making the installer
- You’ll see a series of message like the following, let it finish until you see the “Done” message – this may take a while as multiple GB of data have to be transferred:
- When finished and the terminal reads “Done”, exit out of Terminal, you’re ready to use the bootable installer drive
sudo /Applications/Install\ OS\ X\
Yosemite.app/Contents/Resources/createinstallmedia --volume
/Volumes/Untitled --applicationpath /Applications/Install\ OS\ X\
Yosemite.app --nointeraction"Erasing Disk: 0%... 10%... 20%... 30%...100%...
Copying installer files to disk...
Copy complete.
Making disk bootable...
Copying boot files...
Copy complete.
Done." 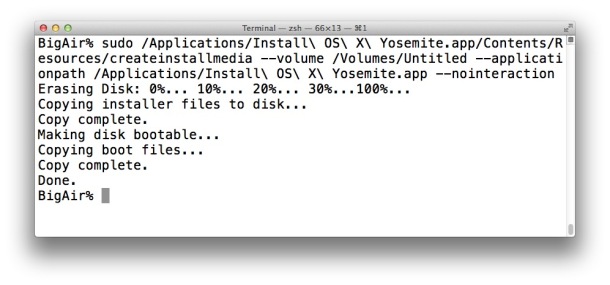
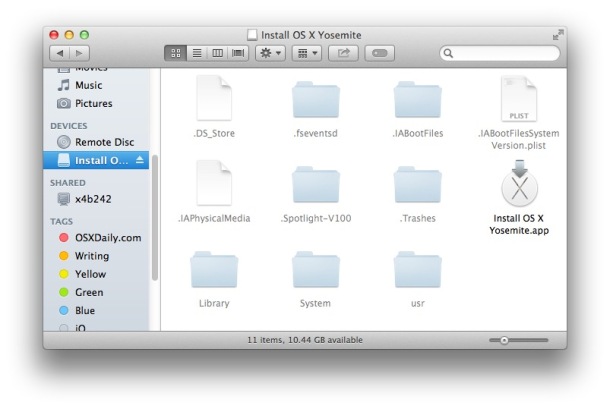
That’s all there is to it. Your freshly made OS X Yosemite install drive will be visible in the Mac Finder:
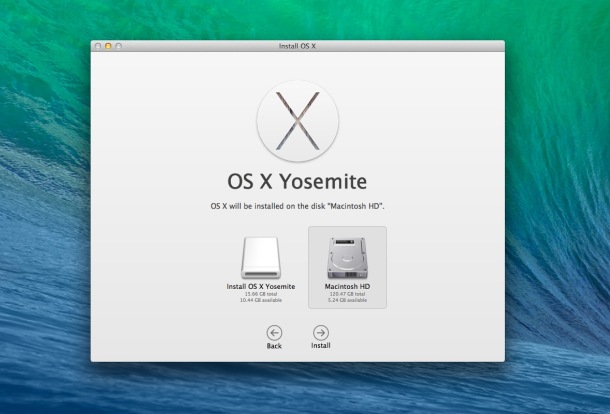
Now you just need to boot from the freshly made OS X Yosemite drive, do that by rebooting the Mac and holding down the OPTION key and selecting the “Install OS X Yosemite” drive upon boot.
If the drive does not boot, you almost certainly skipped the first step which was to partition the drive as GUID, or perhaps interfered with the syntax in the command. You can go through the process again to be sure.
This allows you to update any version of OS X from Snow Leopard, Lion, Mountain Lion, or Mavericks, directly to OS X Yosemite, with the installer that was just made. You can also perform a clean install (which we separately address in a thorough walkthrough here), or update multiple Macs without having to download it from the App Store again. Be sure to always back up the target Mac before updating OS X, whether to OS X 10.10 or any other version, you can follow detailed instructions on how to prepare a Mac for OS X Yosemite here. Enjoy OS X Yosemite!
The aforementioned steps have been tested repeatedly and are confirmed to work flawlessly with the OS X Yosemite final release. If you have any issues, run through the steps again, or leave a comment with your specific error. If you know of an easier way, let us know in the comments too!
 http://www.laptopserviceschennai.com/
EmoticonEmoticon