Forgot Windows 8 password?
Without Windows 8 password reset disk? On this occasion, how to
reset password on Windows 8
easily and effectively becomes problematic issue. But actually the
problem is not difficult as you think even though it looks very
difficult, because of two factors. One is the new characteristics of
Windows 8 operating system, the other is password recovery software. So
it won't take much energy and time to solve this problem, if you follow
this passage to do.
From the new characteristics of Windows 8 system to password recovery software, many methods could be found to
reset Windows 8 forgotten or lost password without disk.
Just choose one and put it into practice:
- 1. Get User Password via Windows Password Hint.
- 2: Get into computer with PIN code, and reset password for locked account.
- 3. Login Windows 8 via Microsoft MSN Account.
- 4. Reset Windows password with another available admin account.
- 5. Reset Windows 8 password with iSunshare password tool.
- 6. Reset login password with iSunshare Password Bundle.
1. Get User Password via Windows Password Hint
While you type a wrong password, the password hint will pop up below
the password hint box. Based on password hint, probably you think of
origin password.
But the preconsideration is that you have set up password hint for
user account password, when you are creating Windows system account and
password. Besides, password hint had better can remind you and only you
of forgotten password. The most important thing is that it couldn't
like password, but has to be related to password.

As seen above, my password hint is email
arran06@126.com,
and my Windows 8 login password is the same as the password of email.
So when the password hint pops up, I could think of Windows login
password instantly.
2. Get into computer with PIN code, and reset password for locked account
PIN code is a quick, convenient way to sign in to this PC by using a
4-digit code. If you have ever created one, this may be the simplest
and most effective method for
Windows 8 password reset. Totally two steps are needed.
Step 1: Sign in Windows 8 with PIN code
When you forgot your local account password in the login page, sign-in options is provided for you to choose. Click the
Sign-in options,
there are two options, Password and PIN. Choose PIN, and type in
4-digit code in the box. Then you can sign in to your computer
successfully.
 Step 2
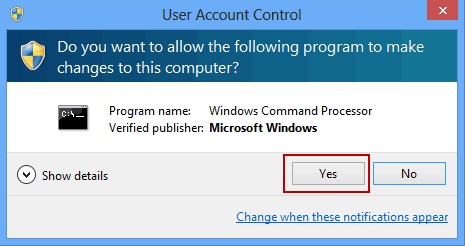
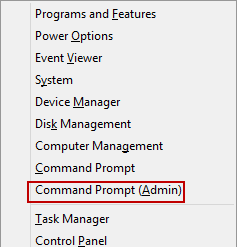
: Press
Windows +X, and click on
Command Prompt (Admin) and Yes.
 Step 3
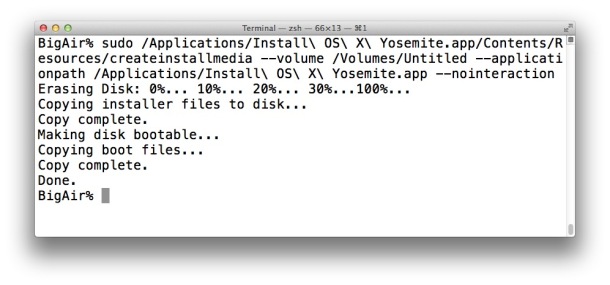
: On the Command Prompt, type in:
Net User <user name> <new password> and press
Enter to reset a new password for Windows 8.
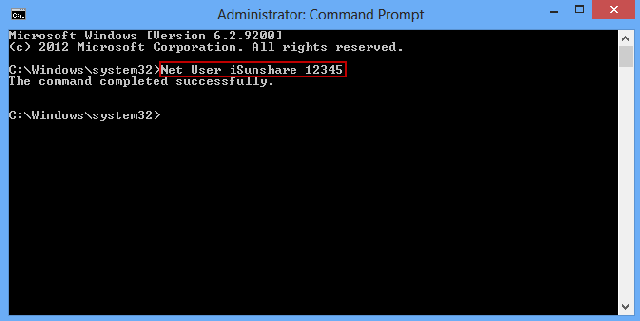
Command Prompt screen appears, input the words like the words in the red box, user name is
iSunshare, new password is
12345, and then press
Enter to complete the Windows password reset process.
3. Login Windows 8 Via Microsoft MSN Account
Microsoft account is another way to login Windows 8 when it is
locked with local account, as long as your computer has set up to sign
in to Windows 8 with Microsoft account. Turn to choose Microsoft account
and login Windows 8 with it. Select email account and type password.
If your Microsoft account password has been forgotten too, please take another available administrator or
Windows Password Genius Advanced to reset Microsoft account password or Windows 8 other user passwords.
4. Reset Windows 8 Password with Another available Admin Account
If there is another admin account available, log on to Windows with
this account first, and then reset other accounts passwords would be
easy. You can choose to recover Windows password with Command Prompt, or
in Computer Management.
Step 1: Enter
Computer Management screen
Click
My Computer to select
Manage to enter this screen. Or press Windows + X and click Computer Management.
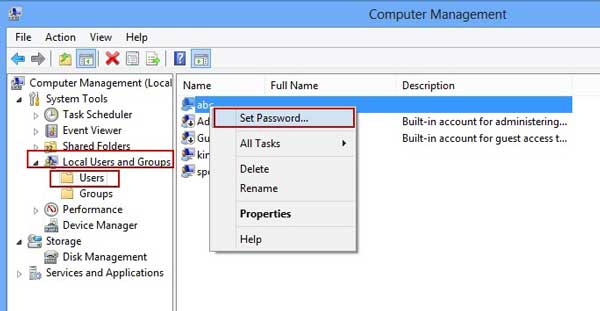
Step 2: Set password for account you want to reset
Click
Local Users and Groups, choose
Users, and right-click the account you want to reset its password, choose
Set Password. Type in new password for this locked account.
5. Reset Windows 8 password with iSunshare password tool
When you have no password reset disk, the first and most important
effort of Windows password recovery advanced tool is to create a
password reset disk with tool. But how to reset Windows 8 forgotten
password step by step by
iSunshare Windows password recovery advanced tool?
Step 1: Download
iSunshare Windows Password Genius Advanced from iSunshare official website. Install and launch it on an accessible computer.
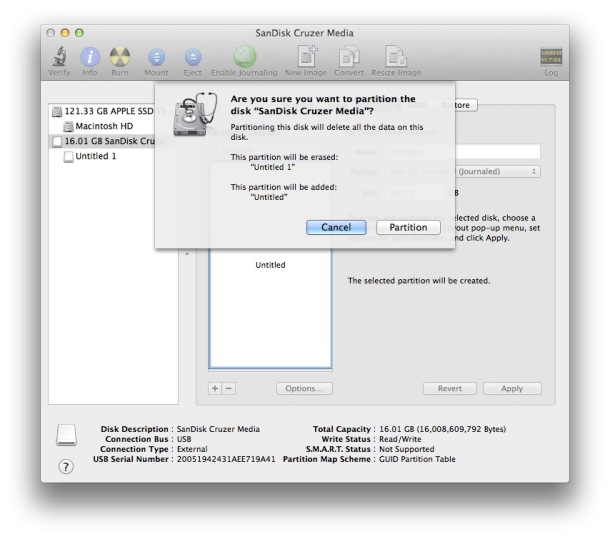
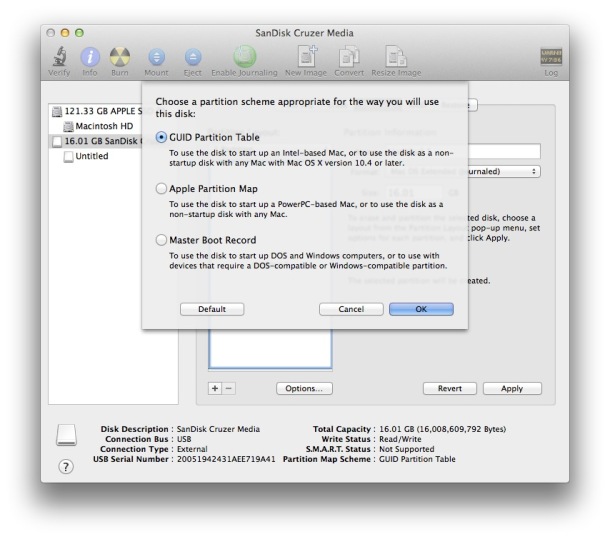
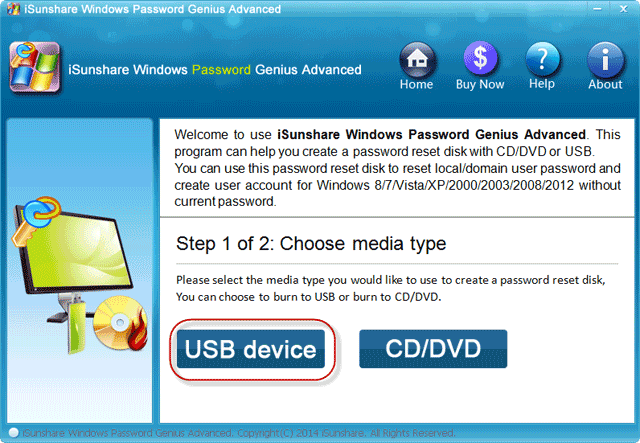
Step 2: Create a password reset disk
Insert writable USB or CD/DVD into accessible computer and select correct media type, and then click
Begin burning
to burn the removable device. Until the message "Successfully burning"
pops up, it means password reset disk has been created completely.
 Step 3
: Boot computer from USB or CD/DVD Setup
After you exit password reset disk from available computer and
plug it into locked computer, start computer and set computer boot from
USB drive or CD/DVD ROM.
If you create password reset disk with USB,
set computer boot from USB drive.
- Set computer boot from USB device by Boot Option Menu.
- Set USB drive as first Boot device Priority in BIOS.
If password reset disk is burned with CD/DVD ROM,
set computer boot from CD ROM.
- Set computer boot from CD/DVD on Phoenix Award BIOS
- Set computer boot from CD/DVD on AMI BIOS
Step 4: Reset Windows 8 forgotten password
After all the above settings, Windows password reset screen appears.
- Select the Windows system type and the account you want to
reset its password, and click "Reset Password". Or you can click "Add
User" to create a new account for Windows 8.
- Click Reboot to restart your computer, then you could login Windows 8 without password successfully.

Tips: Windows 8 password has to be reset with the advanced
version of Windows Password Genius. More operation details, please
follow
Windows Passsword Genius Advanced Guide.
6. Reset login password with iSunshare Password Bundle
Compared to other Windows password recovery software, Password
Genius is a more practical password recovery tool with more functions.
It integrates Windows password recovery, office password recovery, and
archives file password recovery into one, becoming a powerful password
recovery bundle. About its usage, it is also easy to learn.
First, Download
iSunshare Password Genius and install, launch it on your accessible computer.
Second, choose related password recovery tool based on your password type. Here, we have to choose Windows password recovery.
Next, the operation is the same as the
Windows password recovery tool.
Besides the above password recovery software and methods, free password recovery software is also provided. For example,
Ophcrack and
Kon-Boot are the best two free Windows password recovery tool.
It’s fast and easy enough for a computer newbie just with a
basic knowledge of Windows and computer. Be able to recover forgotten
Windows password without access to Windows.
>> Download the free ISO image from website
>> Burn the ISO image to a CD
>> Boot your computer from the CD
>> Ophcrack starts, and Windows user accounts are located and passwords are recovered automatically
In consideration of resetting Windows 8 password easily afterwards when you forget or lose password, some
loyal suggestions and tips will provide for you.
- Create a Windows 8 password reset disk in advance
- Make a good password hint in Windows 8
- Create a PIN code when your computer available
All the above tips play an important role in
resetting Windows 8 forgotten password
though they are simple and easy-to-do. Therefore, rather than trying
all means to reset lost Windows 8 password, but not successfully
guaranteed, make such preparations for Windows 8 password lost or
forgotten is better. But if these preparations have not be created,
effective Windows password recovery tool should be your best choice.
Related Posts: