
How to Install Boot Camp and Run Windows on Your Mac

Check for Updates and Back Up
Before you begin, make sure that you have the latest updates from Apple on your Mac.- Go to Apple's Boot Camp support page to see if updates are available for your model. Download and install if necessary.
- Click the Apple menu, then Software Update... to install any updates for your system.
Start by making sure everything is up-to-date. 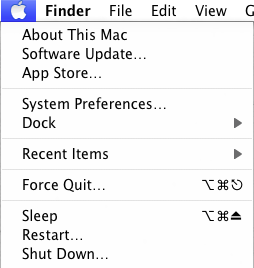
- Restart your computer if prompted. After restarting, check for software updates again until no new ones are available.
Run Boot Camp Assistant (OS X 10.6 or later)
- In OS X, quit all open applications, and then open a Finder window and click Applications, Utilities.
- In the Utilities folder, double-click Boot Camp Assistant to launch the assistant.
Boot Camp Assistant will walk you through the initial setup process. 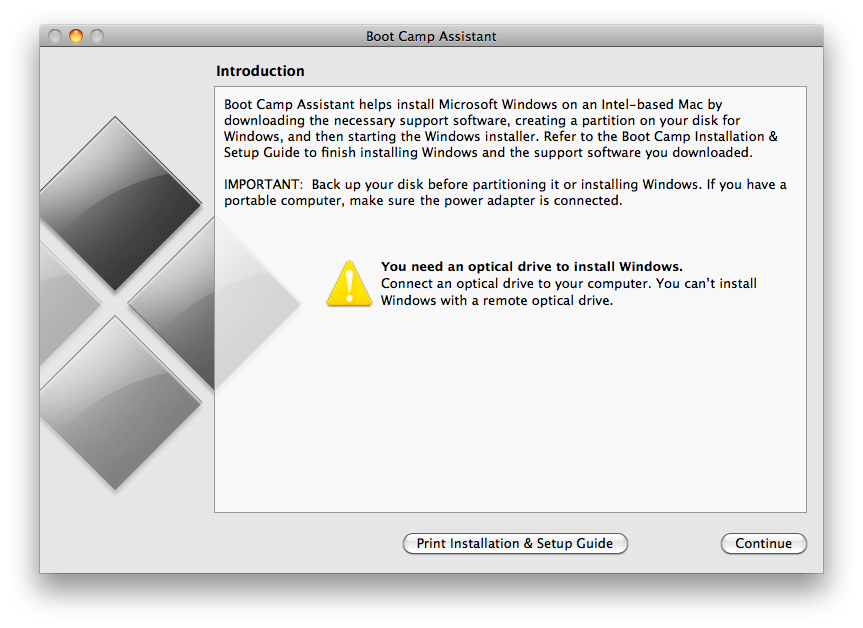
- Click Continue to begin setup.
- If prompted, select Download the Windows support software for this Mac. This software will allow you to install the most current drivers for Windows. Click Continue.
- If prompted for your administrative credentials, fill them in. Press Enter to start downloading the software. After the download completes, save the files to a flash drive or burn them to a disc.
Partition Your Hard Drive
Once you've finished downloading the software, the assistant will prompt you to create a Windows partition on your hard drive. This action segments your hard drive to devote some free space to Windows, without interfering with or erasing your existing OS X installation. At this point, you will see a slider representing your hard drive.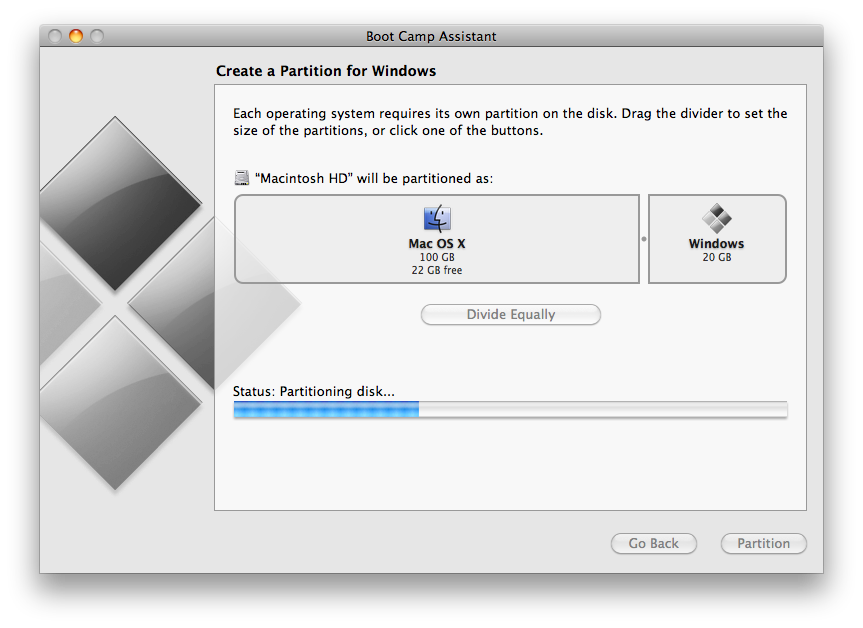
OS X will begin partitioning and rearranging your hard-drive data, a process that may take some time.
Install Windows
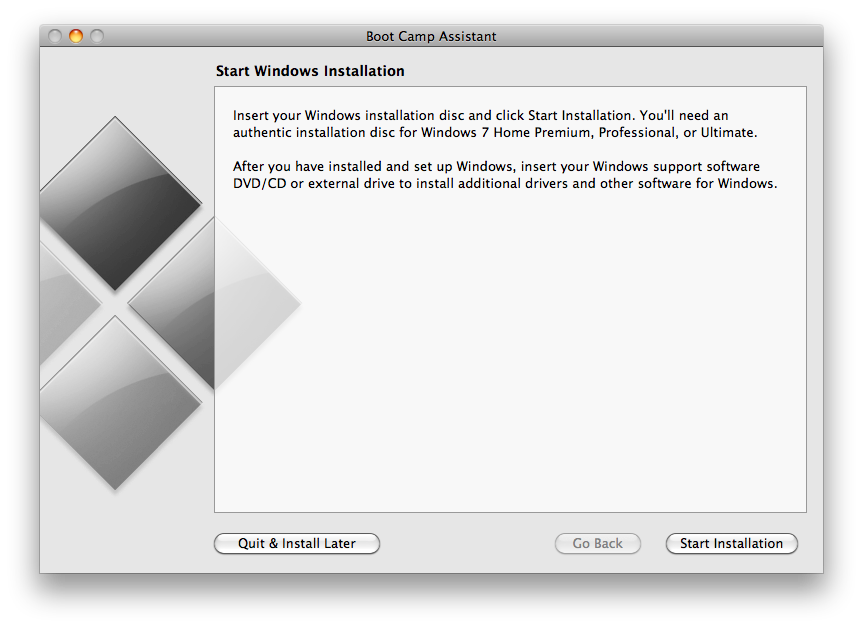
Once partitioning is complete, and your hard drive is prepared and ready to support Windows, the last task is to install the Windows operating system.- Insert your Windows installation disc into your Mac optical drive. You will need to buy a full copy of Microsoft Windows; this does not come with your Mac purchase.
- Click the Start Installation button. Your computer will reboot and start the installation of Windows.
- Follow the wizard to complete a normal Windows installation. If prompted to do an upgrade or custom installation, choose the custom option. At the Where do you want to install Windows? screen, select the partition labeled BOOTCAMP. Then select Drive options (advanced), and choose Format. Do not make any other selections, or you risk losing your OS X installation.
Install Windows drivers
Once Windows is installed, you need to install the drivers you downloaded in an earlier step to make sure that all of your Mac hardware works properly in Windows, including sound, display, and wireless network adapters.- When the installation is complete, eject the Windows disc to remove it from your computer. If you have only an eject button on your Mac keyboard and it doesn’t work yet, you can click Start, Computer, and then right-click the optical drive and click Eject to remove the disc.
- Insert the flash drive or disc you burned earlier containing the Windows drivers.
- Click Start, Computer, and double-click to open the disc or flash drive.
- In the Boot Camp folder, double-click setup.exe to to install the Windows drivers for your Mac. From there, just follow the on-screen instructions to complete the installations. Do not cancel any installations, or you may get errors. If you see warnings about certification or testing at any time, you can click Continue Anyway to proceed.
- After the installation is complete, reboot your computer.
Post a Comment